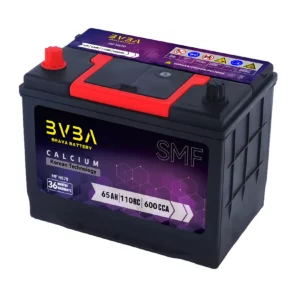
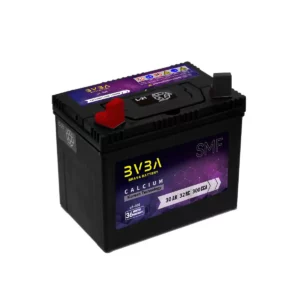
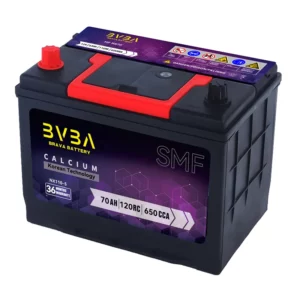
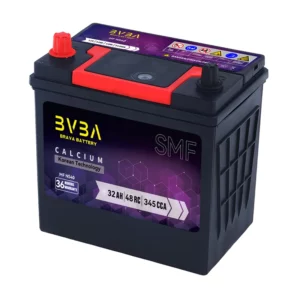
No matter how well you take care of your vehicle, the battery won’t last forever. Luckily, changing the old one out for a new one is pretty straightforward. Read this guide to learn how to do a DIY car battery replacement step-by-step so you can approach the job with confidence next time you have a dead car battery.
HOW TO REPLACE CAR BATTERY
1. SAFETY FIRST
Park the vehicle on a dry, flat surface and set the parking brake. The ignition should be off. If the vehicle is warm, give it time to cool before starting the job. Wear safety goggles and gloves. Pull back long hair, don’t wear loose clothing and take off jewelry. Don’t smoke under the hood, especially around the battery.
Check your vehicle owner’s manual for the your car battery’s location. Space under the hood is at a premium in many newer vehicles. Some batteries may be located in the trunk, under the floorboard or even tucked away out of sight behind a wheel well.
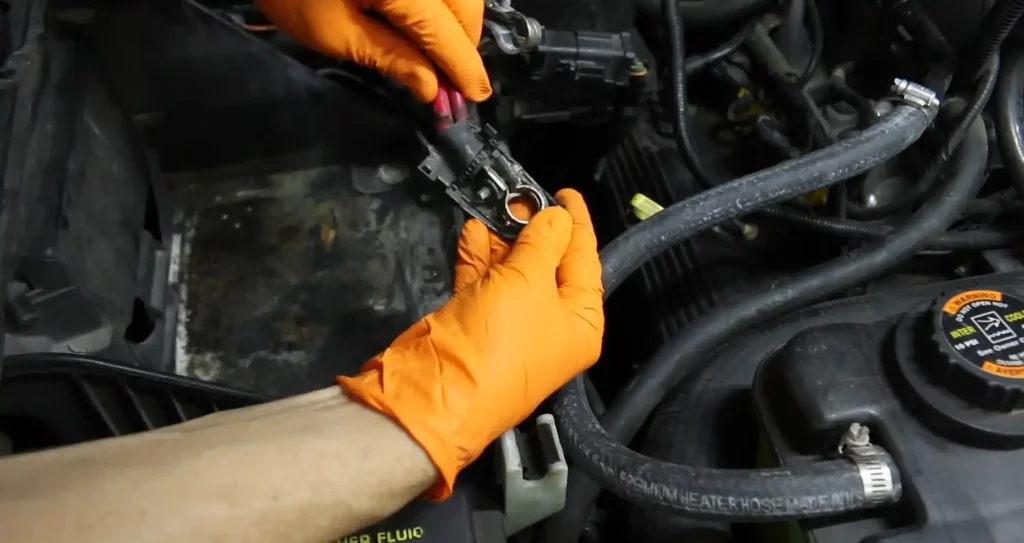
2. DISCONNECT NEGATIVE AND POSITIVE BATTERY CABLES
Start with the negative terminal and disconnect the negative battery cable. Look for a black cable and a minus (-) symbol. You may need to use a ratchet to loosen and remove the clamp. Once the clamp is off, move it safely out of the way.
Disconnect the positive terminal after the negative terminal. Positive terminal has a plus sign (+) and the cable connected to it is usually red.
Identify the positive and negative posts and the respective cables attached to each. The positive post may have a red plastic cover over it and/or the cable attached to it will be red. There should also be a “+” symbol stamped or printed on the battery, next to the positive post.
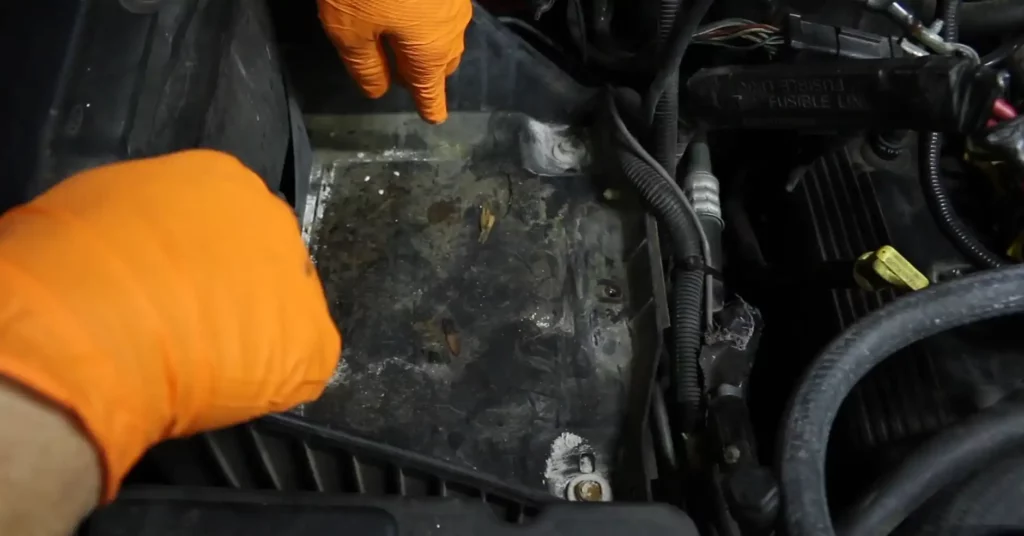
3. REMOVE THE CLAMP AND BATTERY
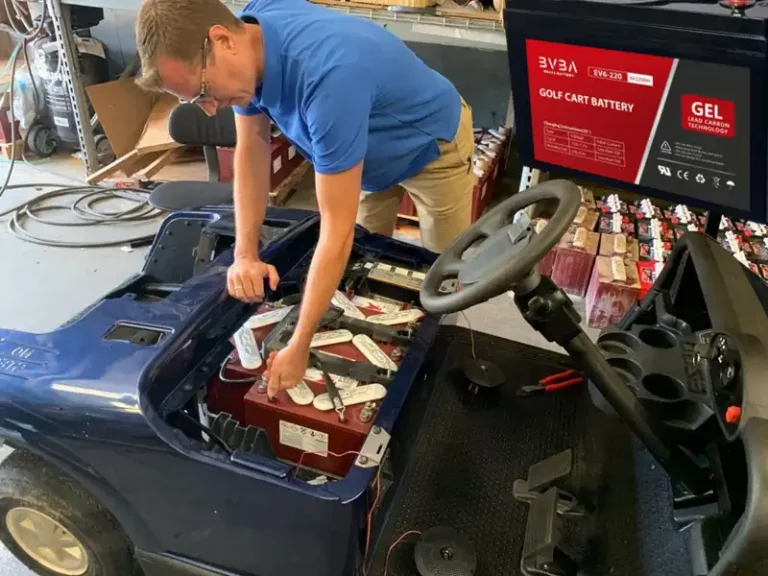
Many top-post batteries will have a clamp or bar holding the battery in place. This is often secured with a bolt or some other fastener. Remove the clamp in order to remove the battery. Pull the battery out from under the hood and set it off to the side.
Using a wrench, loosen the nut or bolt that secures the negative terminal and cable to the negative battery post.
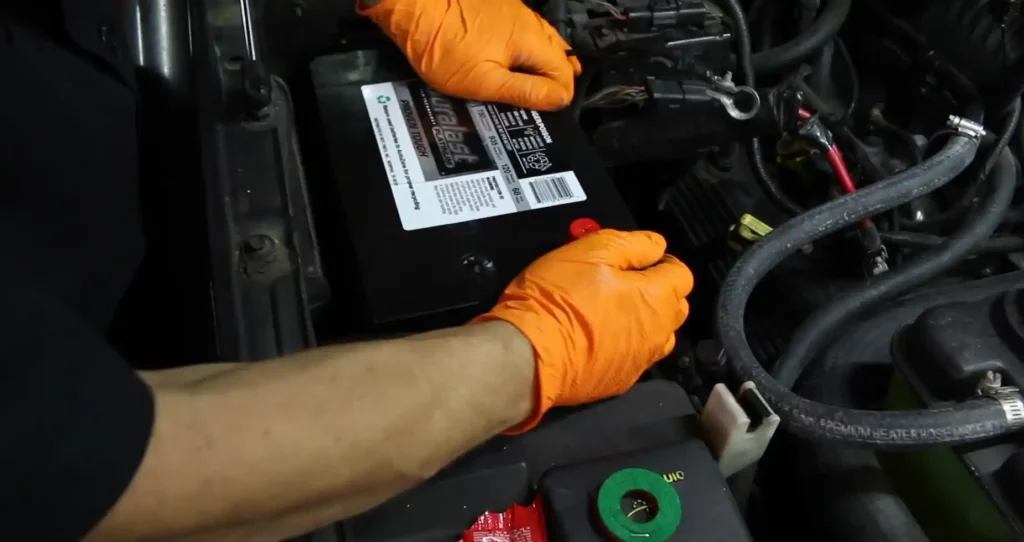
4. CLEAN THE TERMINALS
Look for any corrosion left behind from the old battery. If you see corrosion or dust or dirt or other contaminants, you’ll want to clean that up. Use gloves and a wire brush and wear a mask to avoid breathing dust during this step.
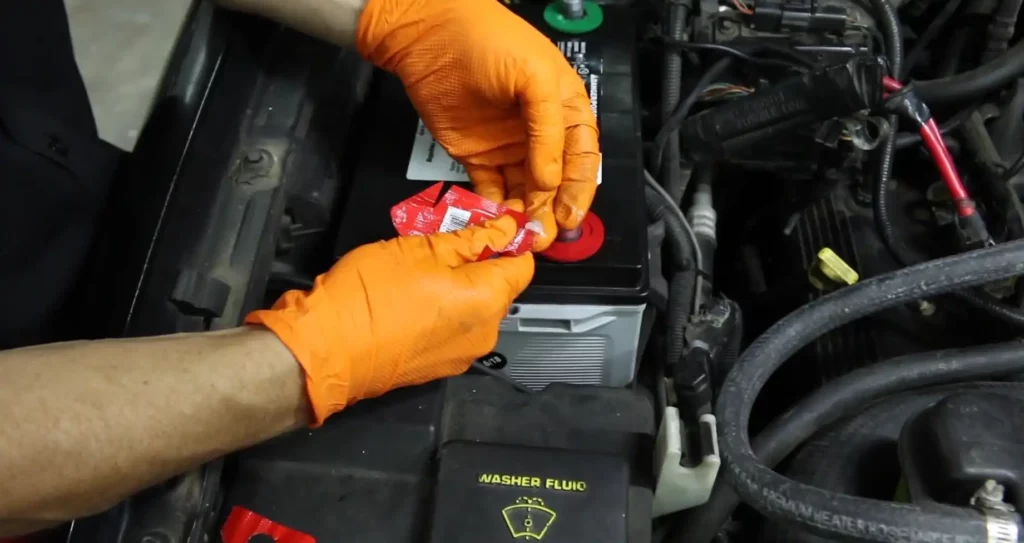
5. INSTALL THE NEW BATTERY
Install the new battery securely and install the clamp same as it was before. Securing the battery is important to help it guard against vibration while driving.
6. APPLY BATTERY WASHERS AND GREASE
Once the battery is snug, place washers on the terminals and apply dielectric grease. Some, but not too much. You want to have enough grease to help the terminals make a connection, but not so much that the cables would have a chance to slip off. This will provide better connection for your battery.
7. CONNECT POSITIVE AND NEGATIVE BATTERY CABLES
Connect the cables back to the terminal. Start with positive and tighten until snug. Do the same with the negative cable. Do not over-tighten the cables.
8. TEST THE VEHICLE
With both cables connected, try to start the car. Hopefully it fires up, and you’re done. If it doesn’t, wait a few minutes, check the connections, and try again. Do not try to start the car more than three times in ten minutes.
Main CMF Batteries Models Replace CAR BATTERY
| Model | POWERCRANK |
|---|---|
| CMF40L | CMF40ZAL |
| CMF45L-DIN | CMF44LH |
| CMF45R-DIN | CMF44RH |
| CMF60L-DIN | MF55D23L |
| CMF60L-DIN | CMF55LH |
| CMF68L-DIN | CMF66LH |
| CMF80L-DIN | CMF77LH |
| CMF90L-DIN | CMF90L |
| CMF90L-DIN | CMF95L |
CAR Battery: | Automobile | | Truck | | Marine/RV | | Motorcycle |
Tags: CAR Batteries SMF Batteries CMF Batteries Wholesales CMF45L-DIN Batteries CMF Batteries CMF60L Battery Manufacturer

